How to Measure for Custom Cabinets Before Requesting a Quote
A useful custom cabinet quote starts before the design meeting. The more clearly you document the room, openings, appliances, utilities, and project priorities, the fewer assumptions a cabinet planner has to make. That does not mean homeowners must create construction drawings on their own. It means the first information package should be complete enough to define the rooms and identify what still needs professional verification.
What to prepare before you request a cabinet quote
- A simple floor plan showing every room included in the cabinet scope
- Wall-to-wall dimensions and floor-to-ceiling heights
- Door and window sizes, locations, and swing directions
- Plumbing, gas, electrical, HVAC, and other fixed conditions
- Appliance model numbers or manufacturer specifications
- Clear photos and a slow walkthrough video
- Style references, finish preferences, and storage priorities
- Your city, state, ZIP code, target timing, and approximate budget range
1. Define the cabinet scope before measuring
Start by listing the spaces that are part of the project. A kitchen-only quote is different from a whole-home package that also includes closets, bathroom vanities, a laundry room, a pantry, a home office, or living-room built-ins. Mark each space as one of three categories: included now, possible later, or excluded. This keeps the first proposal focused and prevents unrelated rooms from changing the budget unexpectedly.
For each included room, write one sentence about the goal. Examples include more pantry storage, full-height wardrobe storage, an appliance garage, concealed trash and recycling, a home-office wall, or a more accessible vanity layout. These priorities often matter more than a long list of design adjectives.
2. Record the room shell
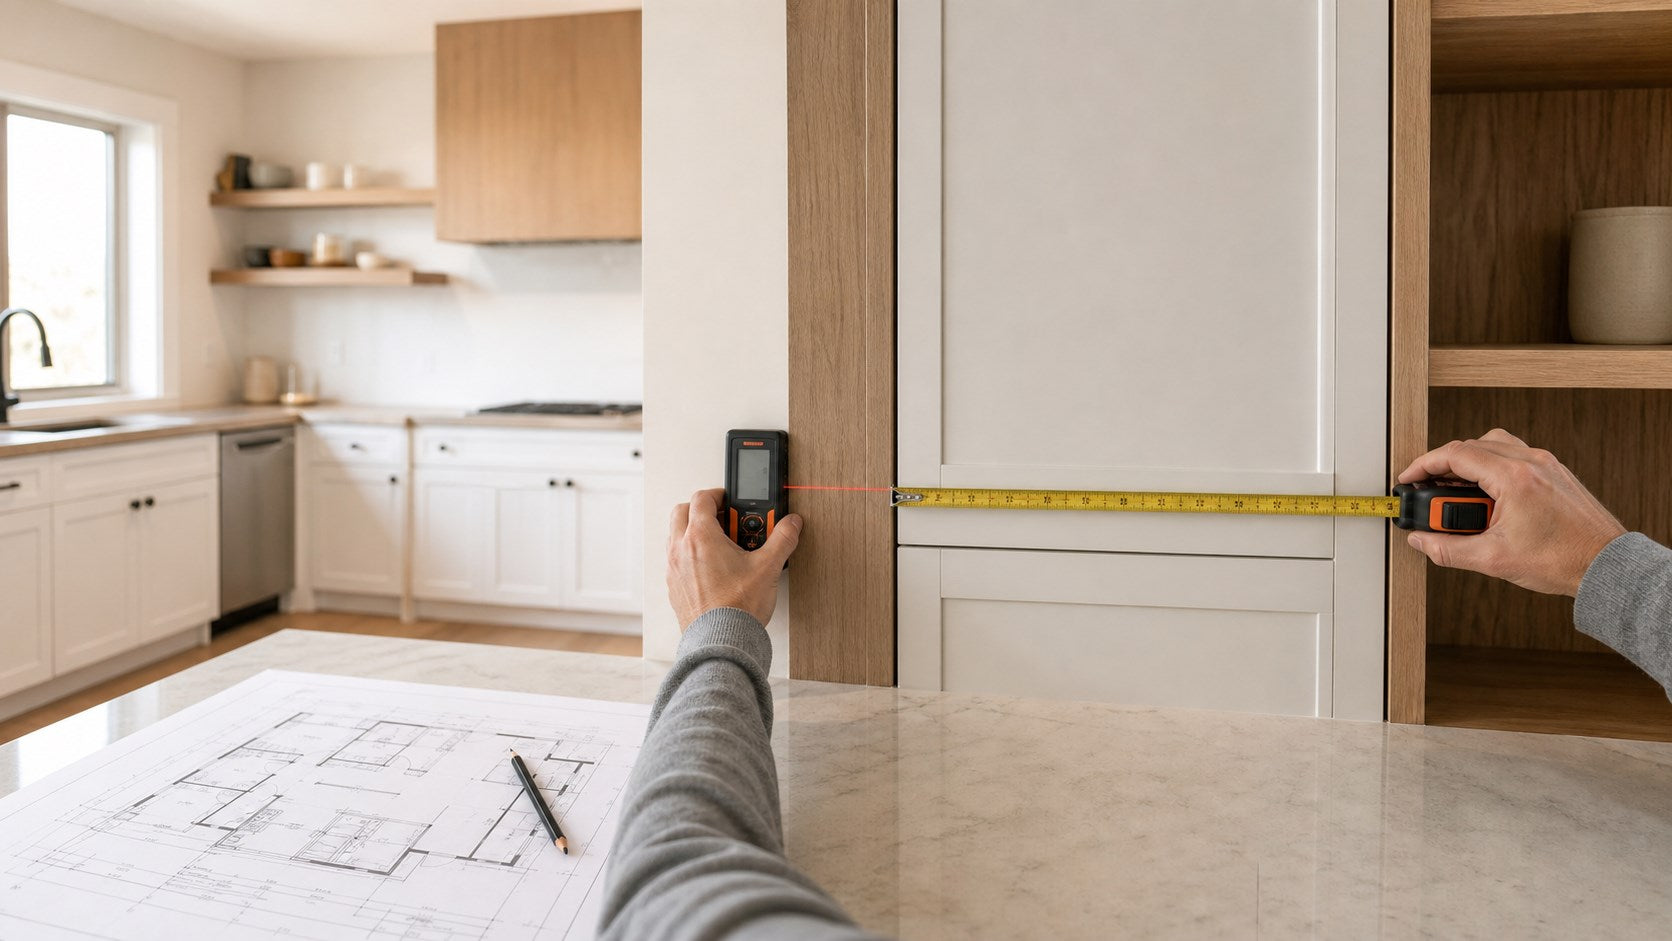
Measure every wall that could affect cabinetry. Record the overall wall length first, then break it into smaller segments around doors, windows, corners, columns, and other fixed features. Measure ceiling height in more than one location because floors and ceilings may not be perfectly level. If a soffit, beam, sloped ceiling, or step changes the available cabinet height, show its width, depth, height, and position.
Use one unit system consistently. Inches are common for U.S. projects, but millimeters can reduce rounding during detailed design. Whichever system you choose, label it clearly on every page.
3. Locate openings, utilities, and obstacles
For each window, record the opening width and height, the distance from the floor to the bottom of the opening, and the distance from the nearest corner. For each door, record the opening and trim width, swing direction, and any clearance the door needs.
Mark the centerline and height of plumbing, gas, outlets, switches, vents, radiators, access panels, sprinklers, and other fixed items. Do not hide uncertain locations. Label them as “to be verified” so the design team knows where an assumption remains.
4. Add appliance and equipment information
Cabinet openings depend on actual appliance specifications, not only labels such as “36-inch refrigerator” or “standard dishwasher.” Provide the brand and model number for the refrigerator, range or cooktop, wall oven, microwave, dishwasher, sink, hood, washer, dryer, wine refrigerator, and any specialty equipment. Manufacturer cut sheets help the planner account for ventilation, door swing, required clearances, panels, fillers, and service access.
5. Create a simple, readable drawing
A hand sketch is acceptable when it is clear. Draw the room from above, label each wall, and add dimensions outside the drawing so the numbers do not cover one another. Then create a separate elevation sketch for each cabinet wall. A good elevation shows the floor, ceiling, openings, utilities, appliance locations, and any height restrictions.
Do not scale a drawing by eye. Write every important dimension explicitly. If two measurements do not add up to the overall wall length, recheck them or flag the difference.
6. Take photos that answer design questions
Photograph each wall straight on, then take wider corner views that show how walls connect. Include close-ups of utilities, trim, soffits, uneven conditions, and anything that may interfere with installation. A slow video walkthrough is useful because it preserves context that individual photos can miss.
If the home is under construction, include current photos and the latest architectural plan. Note which dimensions are final and which may change after drywall, flooring, or other finishes are installed.
7. Separate planning measurements from final verification
Early measurements can support layout development and budget planning, but final cabinet production should rely on field-verified dimensions. The contract should state who performs that verification and who accepts the final drawings. For a remote cabinetry project, the homeowner, contractor, installer, designer, or another qualified local professional normally provides or confirms field conditions before final approval.
Never assume that a remote designer can verify a site condition that is not shown in the documents. Clear responsibility at this stage protects both the project and the installation schedule.
A minimum quote-request package
- Project address or at least city, state, and ZIP code
- Room list and cabinet scope
- Dimensioned floor plan and wall elevations
- Appliance and fixture specifications
- Photos and walkthrough video
- Inspiration images and preferred materials
- Budget range and target timing
- Known site constraints and items still requiring verification
Common measuring mistakes to avoid
- Providing only the overall room size without wall-by-wall dimensions
- Ignoring trim, door swings, baseboards, soffits, or uneven walls
- Using nominal appliance sizes instead of model specifications
- Measuring from an unfinished surface without noting future finish thickness
- Mixing inches and millimeters on the same drawing
- Treating preliminary measurements as final field verification
What happens after you send the information
The next step is not simply choosing a door color. A cabinet planner should review the package for missing dimensions, confirm the included rooms, identify special storage or appliance requirements, and list open questions. From there, the project can move into layout development, material selection, and an itemized quote.
Use the Custom Cabinet Quote Checklist to organize your request, review materials and certifications, or browse cabinet case studies for a design direction. When your packet is ready, send your project details to Last Closet.