How Remote Cabinet Design, Delivery, and Local Installation Work
Remote cabinet design can work well when the project has a clear information flow and a clear division of responsibility. The cabinet team does not need to stand in the room every day, but the room still needs to be measured, verified, documented, approved, received, and installed by accountable people. The process succeeds through coordination—not through pretending distance does not matter.
The basic responsibility map
| Role | Typical responsibility |
|---|---|
| Homeowner or project owner | Defines priorities, budget, decisions, approvals, and the local project team |
| Local contractor, installer, or designer | Verifies site conditions, coordinates local trades, receives installation information, and installs or supervises installation |
| Remote cabinet team | Develops cabinet layouts, specifications, drawings, quote scope, production information, packaging coordination, and remote support |
| Freight and receiving parties | Coordinate transport, delivery appointments, unloading, counts, inspection, storage, and claim documentation |
The exact roles can change, but they should never remain implied. Put the responsibility map in writing before final approval.
Phase 1: Project intake and qualification
The first conversation should establish the project location, rooms, decision-makers, budget range, desired timing, construction status, and local installation plan. Share floor plans, measurements, appliance information, photos, inspiration images, and any known constraints. If the project is not ready for detailed design, the cabinet team can first identify missing information rather than building a proposal on assumptions.
This stage is also where both sides confirm fit. A remote workflow is stronger when the customer can provide reliable site information, make decisions on time, and arrange qualified local measurement and installation.
Phase 2: Layout and design direction
The cabinet team translates the project packet into a layout. Early drawings should focus on cabinet runs, appliance relationships, storage zones, door clearances, and room-to-room consistency. Style images help define the design direction, but they do not replace dimensions or functional requirements.
Review the layout as a system. Check traffic paths, drawer and door conflicts, appliance ventilation, corner access, countertop support, filler requirements, and how cabinets meet walls, ceilings, windows, and floors.
Phase 3: Materials, finishes, and hardware
Once the layout is stable, confirm cabinet box materials, door construction, finishes, interior colors, exposed panels, hinges, drawer systems, organizers, handles, glass, lighting, and trim. Samples are useful because colors and textures can look different on a screen. Record every approved selection in the specification instead of relying only on chat messages.
Review materials and certifications as part of this step, and note any local code or performance requirements that the project team must verify.
Phase 4: Itemized quote and scope confirmation
The quote should connect directly to the latest drawings. It should separate cabinet supply, accessories, design services, packaging, shipping or delivery allowances, taxes or fees where known, and locally provided work. Confirm exclusions, assumptions, payment stages, quote validity, and the change-order process.
Use the Custom Cabinet Quote Checklist to compare the written scope with the drawings before making a commercial decision.
Phase 5: Final field verification and approval
Before production, a qualified local person should verify the room dimensions, openings, utilities, appliance specifications, finished floor height, wall conditions, and other installation constraints. Any differences must return to the drawing set. The final production drawings should carry a clear revision or date and require written approval.
This is the point where responsibility must be especially clear. The remote cabinet team can design from the information provided, but it cannot physically confirm an undocumented wall, pipe, or floor condition.
Phase 6: Production information and project updates
After approval, the project should have one controlled specification rather than scattered decisions. Confirm the approved drawings, materials, hardware, finishes, quantities, packaging labels, and destination details. The agreement should describe what progress information will be shared and which changes are no longer possible after production begins.
Phase 7: Shipping, receiving, and inspection
Before shipment, confirm the destination, delivery method, access limits, contact person, unloading equipment, storage area, and expected receiving documents. A cabinet shipment may arrive in many cartons or crates, so room-based or cabinet-based labels are valuable.
At delivery, count packages before signing, photograph the condition of the shipment, note visible damage on the carrier documents, and move products into a dry, secure storage area. Then inspect against the packing list within the reporting window stated in the agreement. Keep packaging and labels for any item that may require a claim.
Phase 8: Local installation
The local installer should receive the approved drawings, cabinet labels, hardware schedule, appliance information, and installation instructions before work begins. The site must be ready: floors and walls at the agreed stage, utilities coordinated, access available, and products acclimated or stored according to the applicable requirements.
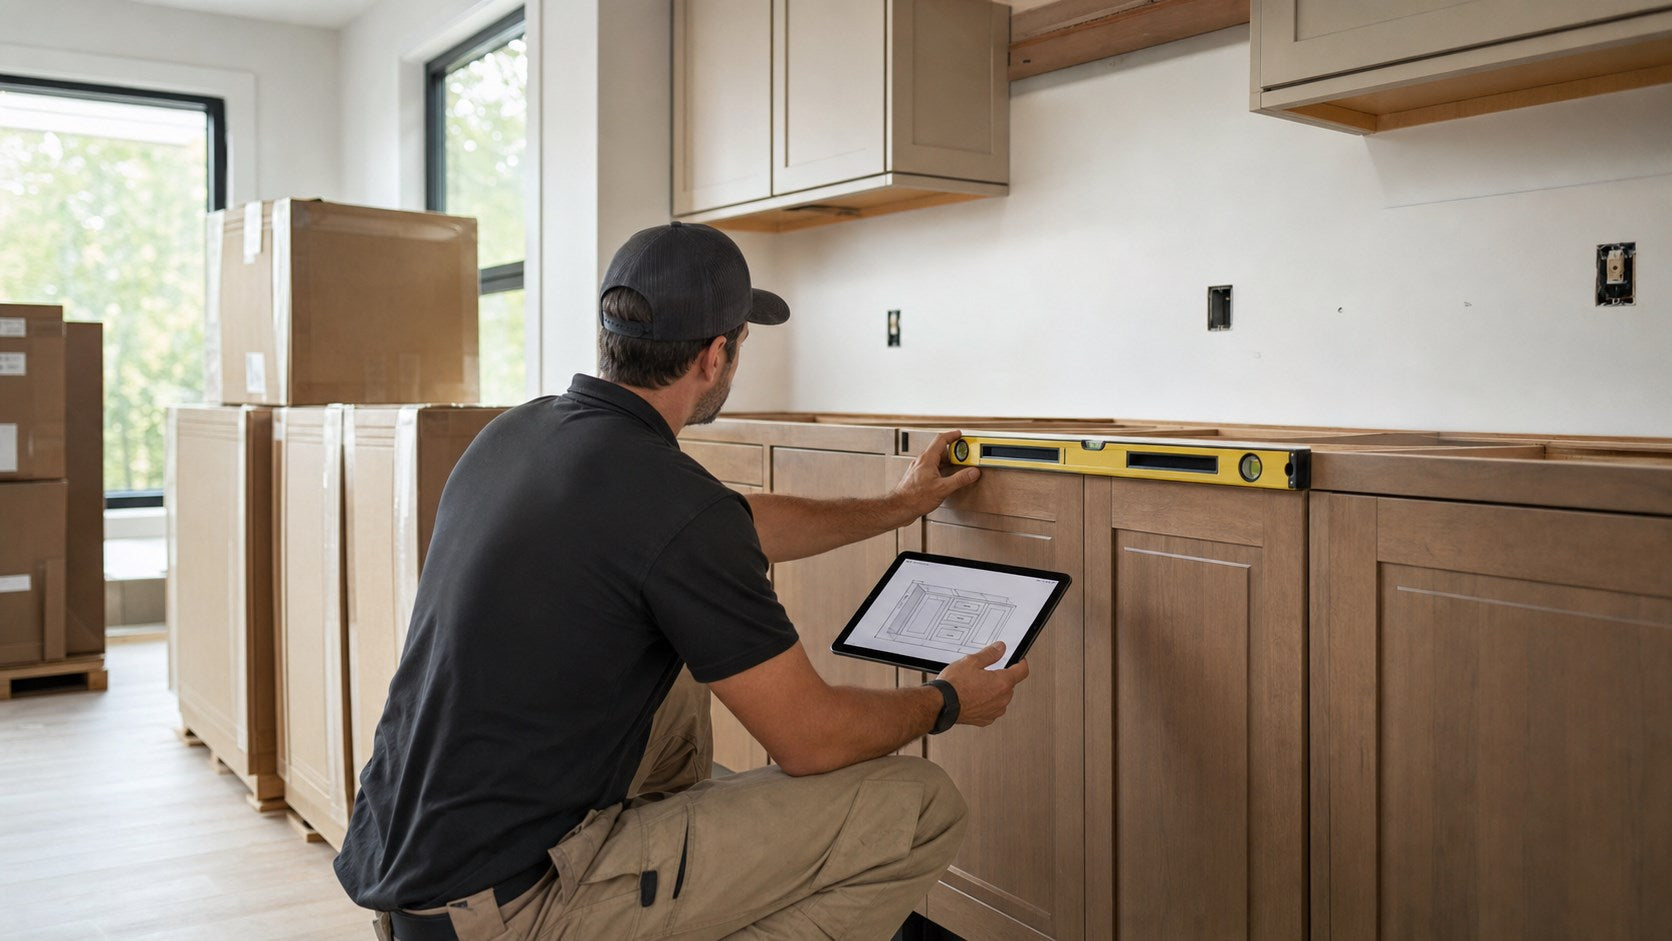
Installation normally begins with verifying the layout and site conditions again. The installer establishes level reference lines, sequences tall, base, and wall cabinets, secures cabinets to appropriate structure, fits fillers and panels, adjusts doors and drawers, and coordinates countertop and trade interfaces. Site-specific methods and local code remain the responsibility of qualified local professionals.
Phase 9: Punch list and after-sales support
Create one consolidated punch list with cabinet numbers, photos, dimensions, and a clear description of each issue. Separate installation adjustments from missing, damaged, or incorrect parts. A well-documented list is much faster to resolve than scattered messages from several people.
What reduces risk in a remote cabinet project
- One current drawing set and one decision log
- Field-verified dimensions before production
- Named owners for measurement, approval, receiving, and installation
- Written inclusions, exclusions, and shipping terms
- Actual appliance specifications
- Finish and hardware samples or clearly approved references
- Room-based package labels and a receiving checklist
- A local installer involved before final approval
Is a remote workflow right for your project?
It may be a good fit when the project has reliable drawings, a responsive decision-maker, and qualified local measurement and installation support. It is a weaker fit when site conditions are changing, dimensions cannot be verified, no one owns receiving, or the customer expects the cabinet supplier to manage local construction work that is not included.
See how the project process works, browse selected cabinet case studies, or send your drawings and project details for an initial scope review.